 |
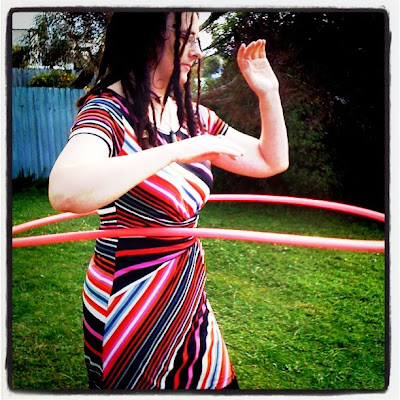
| That would be me, waist hooping. |
Okay, I meant to post this aaaages ago but I forgot: instructions on waist hooping for beginners.
Waist hooping is the first move you learn in hooping. It's like first position in ballet, like dribbling the ball in football. You
could learn to hoop without it, but you'd struggle.
Some people I've taught to waist hoop are content to stop there. They like to hoop, and it's good exercise, but they're not interested in fancy-pants moves. Others want to learn more. Either is good - there's no right or wrong.
Before you begin, you need to find the right hoop for you.
Here are my guidelines for choosing the right hoop, but you may have to experiment a little because no two people are the same. If you're really struggling to hoop, and you've followed my trouble-shooting tips, consider changing your hoop size if you can.
Okay, let's get started.
Put your hoop down on the ground - you won't need it just yet.
We'll start off looking at stance. Stand with your feet together. Now move one foot - it doesn't matter which - a few inches forward and slightly to the outside [eg, if you moved your right foot forward, take it slightly to the right; slightly to the left with your left foot]. Keep your knees soft. You don't want them bent, but they have to have some "give" in them.
Tuck your bottom in. Keep your upper body as still and as straight as you can. Begin to move your weight from one foot to the other, so that you are rocking back and forth. This is where your knees must be soft as they will bend and straighten as you move.
Now add in your hips. For many of us, isolating our hips is difficult, but you will get the hang of it! As you rock on to your front foot, push forward with your front hip. As you rock on to your back foot, push backward with your back hip. Beginners do need to do this with a fair bit of power. Remember that your upper body must stay as still as possible - all the movement is from your hips and below.
Now pick up your hoop.
Put it around your body and place it in the small of your back. Hold it comfortably. Think about which direction you want the hoop to spin in - clockwise [to the right] or anti-clockwise[to the left]? Some people know immediately, others need to experiment a little. Keeping the hoop as flat as you can, give it a strong push in your preferred direction, and immediately begin your rocking motion.
Are you hooping yet? Remember that some people pick it up straight away and some need a bit of practice. Don't beat yourself up if it doesn't happen immediately.
Here are a few trouble-shooting tips:
+When you hold the hoop ready for push-off, make sure it is FLAT, not drooping downwards.
+Really try to keep your upper body as still as possible. If you're unsure stand in front of a mirror.
+If it's hard for you to isolate your hips, practise rocking back and forth without the hoop.
+Don't bend over forwards to look at yourself hooping - the hoop will most likely drop to the ground.
+Remember that when you first begin, you do need to move those hips strongly to keep the hoop going. Once the movement is in your muscle memory, you won't need to use the same force.
It is normal to have some bruising around your hips after your first experience of hooping. Don't be alarmed if that happens - it's like a rite of passage. I like to call these bruises hoop kisses. But PLEASE be careful with your body, especially if you have back or knee problems, and if you have any pain, stop.
Happy hooping!
Anne-Marie x


